


Background
Quickly develop Android apps with JavaScript using React Native on Celo Blockchain. This tutorial assumes you have knowledge of how to deploy smart contract using hardhat.
React Native is a JavaScript open-source framework created by Meta for building apps on various platforms like Android, iOS, and web applications using the same code base.
React Native is based on the React library. The main motive behind its existence is to provide the ability to build an original, flexible, and attractive app speedily. This article explains the Android app development with React Native and Celo. You’ll be able to learn how to download and install Node.js and NPM on your computer. You’ll also learn how to install Expo CLI and build an Android app from the scratch, so keep reading.
Below is a list of what we’ll cover:
- Prerequisites.
- Downloading Android SDK
- Getting started.
- Project Development
Prerequisites
You’ll need to install some packages and dependencies to get started in your journey of building your Android app from the scratch with React Native. They are as follows:
- Node.js
- NPM
- Python
- IDE (which we’ll be using Visual Studio)
Installing React Native Command Line Interface (CLI)
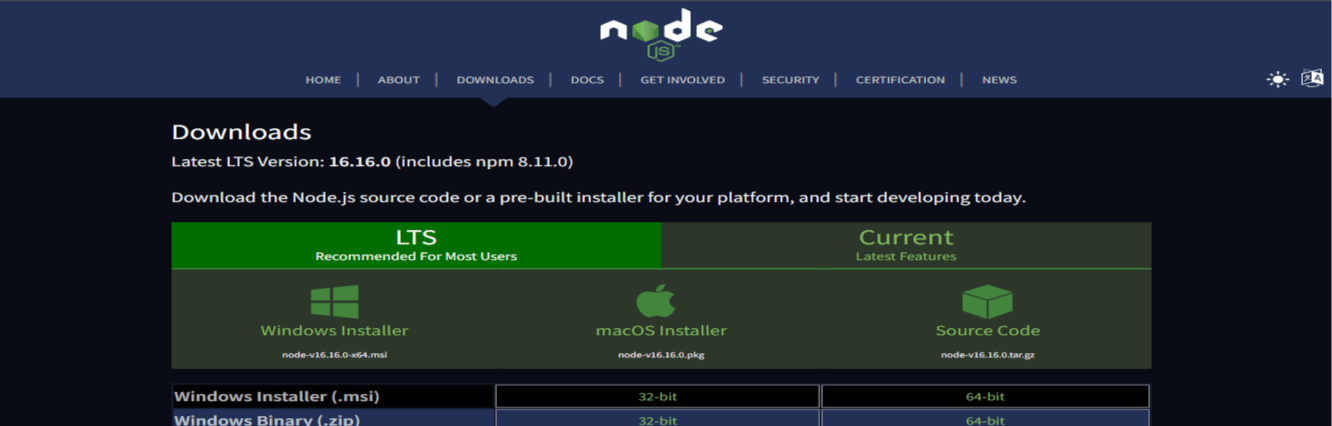
To install the above, navigate to https://nodejs.org/en/download/ in a web browser and click the Windows Installer button to download the latest default version. Click on macOS Installer if you’re using a Mac computer. Once the installer finishes downloading, launch it. After launching, click on the install option for either Windows or macOS. Once done, continue to install the package which includes Python, NPM, and the required IDE.
npm i -g react-native-cli
Downloading Android SDK
Proceed to download and install the Android SDK tools. This tool will allow you to view your app in a mobile emulator.
Working with Expo
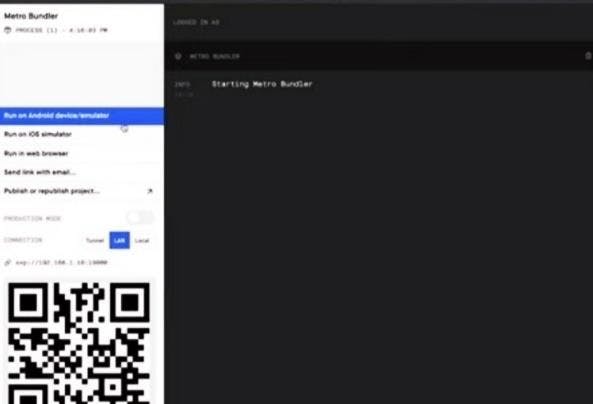
Let’s get started by opening our IDE. Open your IDE terminal and use the below command to open a webpage where you will select your preferred mobile emulator, in this case, Android.
expo start
At this stage, you are set to start your app running on the local server.
Project Development
Clone and Import Repo
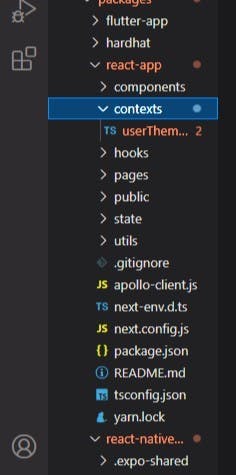
Clone this https://github.com/iamoracle/celo-react-native-tutorial. Navigate to the packages/react-native-app and open index.js which is the starting point for React Native apps.
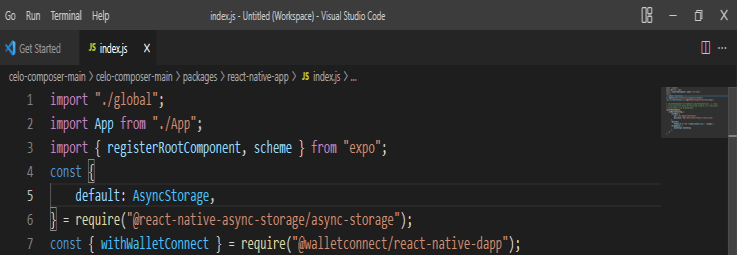
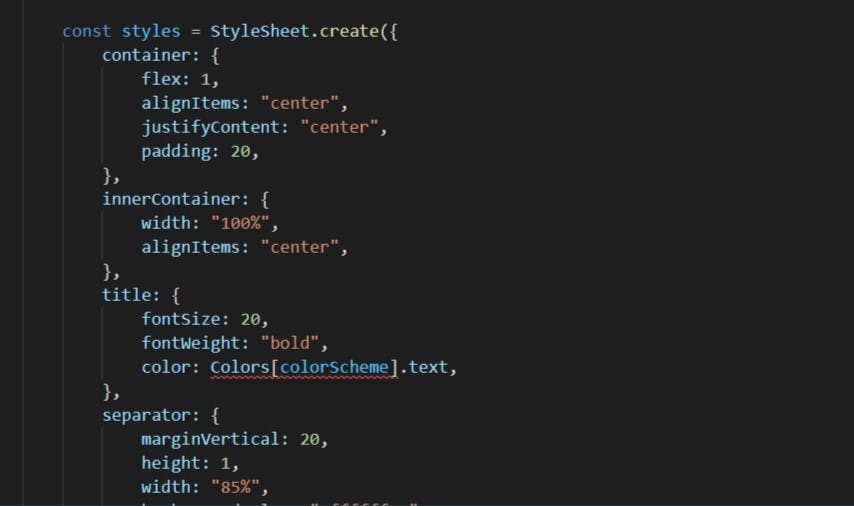
Start by importing necessary images and creating a style to use for the project and make sure you import react. The style can be created in a new component to ensure the flexibility of the codes.
Adding Navigation
Navigation for React was innovated by Meta and Expo to ensure user-friendly navigation to React Native-based apps. It works across the Android platform and iOS platform respectively. To install React Navigation, run the command below in your terminal:
yarn add react-navigation
Using React Context
To create the React context, use the createContext method. Sheathe context provider to the components. Input a value on the context provider with the value prop.
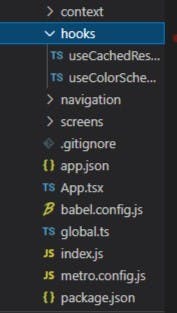
Hook
Hooks are functions that allow you to get inside React state, lifecycle attributes from the basics components. Hooks allow you to use React without classes. React made provision for built-in Hooks like useState.
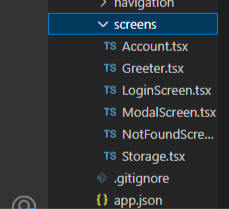
Screens
The react-native-screens made room for native basics to represent the screen instead of the plain constituents (view) to optimize between screens and operating system behavior.
Deploying Smart Contract
For the sake of practice, we will be using the Alfajores testnet. This will allow us to request for testfunds from the faucets to avoid spending/experimenting with real money during the development period. .
In your terminal, run the below command to see the account to deploy the contracts into and ensure you are in the /packages/hardhat folder. You should modify hardhat configration in the hardhat.config.json.
npx hardhat accounts
After confirming the account, you can now deploy the smart contracts using the below command in your terminal.
npx hardhat deploy --network alfajores
Interacting with our React Native DApp
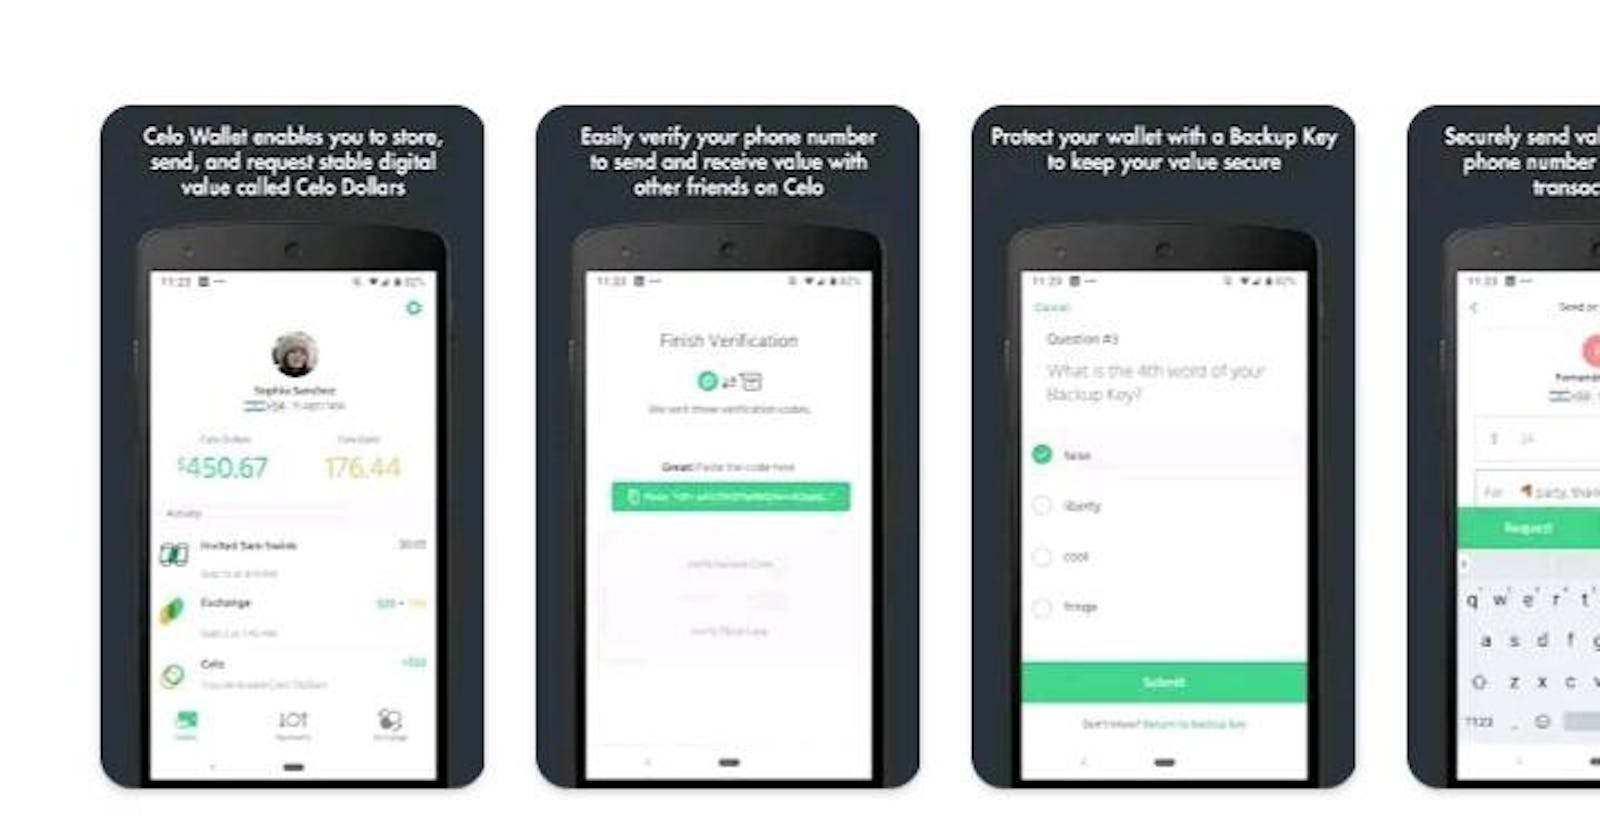
Interacting with smart contracts on the Blockchain needs a wallet and we will be using the Valora testnet wallet. You can choose any other preferred wallet of your choice e.g. MetaMask.
After downloading, Create New Account or you can also recover if you have a test account on Testnet. Setup your account now and get some funds from Celo Faucet so that we can interact with the smart contracts deployed.
Testing our Celo Android DApp
Scan the QR code shown in the terminal using the Expo App to open up the app on your device. The moment you see the Metro Bundler will start bundling the code and once that is done your device will start downloading it. A screen will appear prompting you to allow the Starter app to get your account details like account address. Click on the "Allow button".
Customizing the React Native DApp
Customization can be made on the React Native Starter DApp, to customize. You can also add various components to build your dream project.
Hopefully, this has helped shed some light on how to build an android app using React Native and you can now get started on your very own Android application.
Thanks for reading.